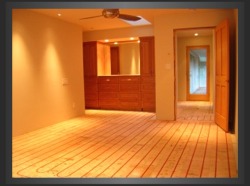
Installing radiant panels
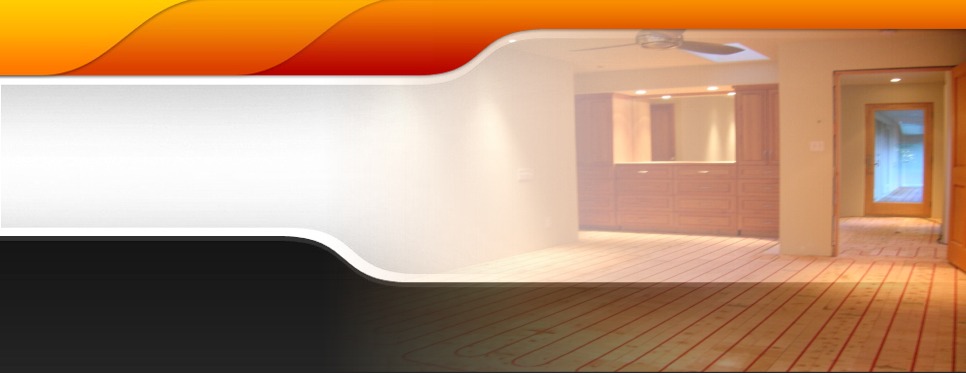
There are many different ways to install Hydronic Radiant Floor Heating. Start by calculating circuit and footage requirements for each zone. Next layout panels working from the manifold location until the panels are layed out throughout the rooms. Panels are then secured to the floor. Hydronic PEX Tubing can now be inserted into the panels for connection to the corresponding manifold. We recommend leaving the system pressurized for a 24hr period to check for leak-down before applying finished flooring.
Note: This is an overview of the installation process. Please refer to our instruction manual. The manual contains critical specifications that must be followed such as circuit and tubing linear footage requirements.
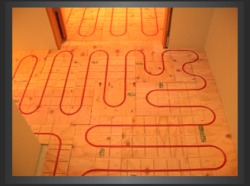
Radiant Heat Layout
Installing HeatPly radiant panels can save you time and money, with an eco-friendly design that incorporates many unique features. We have leveraged our industry knowledge and expertise to incorporate the best underlayment features into our design.
Additionally, HeatPly is designed with the installer in mind with centerlines and cutting grid templates pre-scribed into the panels. Installation times are significantly decreased. No need for a straight edge and tape measure for most of the cuts. Install in tight areas or closets with ease. This reduced time means lower bids to homeowners.
Pre-Cut Centerlines:
It is not uncommon for cutting of the HeatPly modular panels to be required. Room configurations and floor plans vary widely, along with requirements that radiant circuits be within certain linear footage to perform properly, and the need for supply and return circuit runs to originate in the same locations. Unique to radiant panels, HeatPly Panels have been designed with centerline cut score lines for installation ease. The purpose of the score lines is to aid and expedite in the installation process. Most of the common cuts can be done by use of the score lines, without the need for tape measure, pencil, and straight edge.
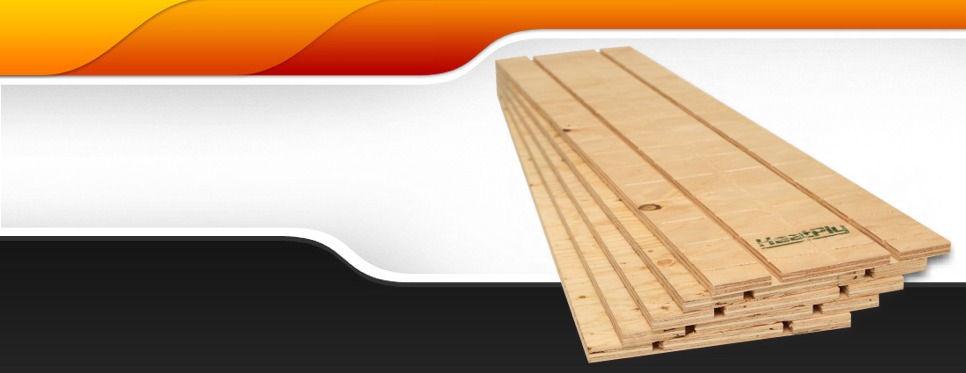
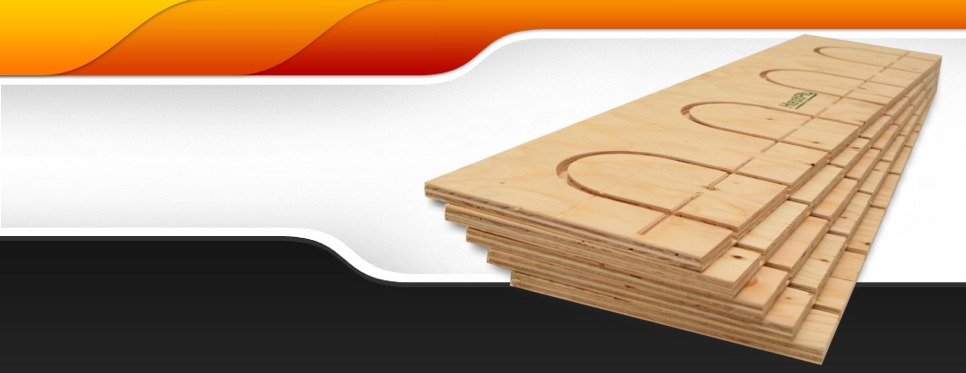
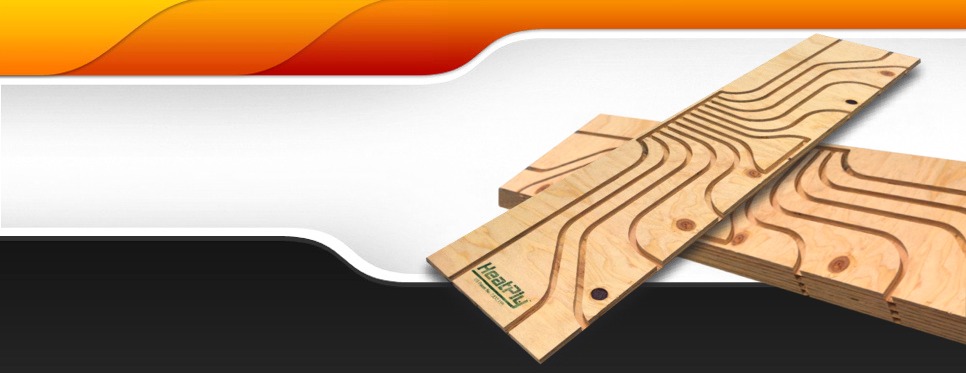
The sweep panels are designed with 4 return bends, but they can be cut down to 3, 2, 1, ½, ¼ as room layouts dictate. The sweep panels can also be cut longitudinally and used to make tight serpentine radiant tubing routing that is needed when the normal return width won’t fit within the room layout. By configuring these pieces, the tubing can be routed around walls into closets, around cabinets or fixtures, lengthwise or crosswise in hallways. The run panels can be cut in half lengthwise along the score lines for use in routing the tubing along the perimeter of a room so the supply and returns lines can end up in close proximity to one another.
View HeatPly's pre-scribed cutting grid and Common Cut examples...
Dimensions that make sense:
Installing HeatPly is quick and easy. Our panels are designed with features that make your installations quick and easy.
Radiant Tubing Channels:
HeatPly Hydronic radiant tubing channels are designed for use without silicone. The Pex tubing fits tightly within the panel slots and can be installed without the need for silicone as is commonly used with other products. This Eco-friendly design not only saves time, but the added expense of silicone.
